

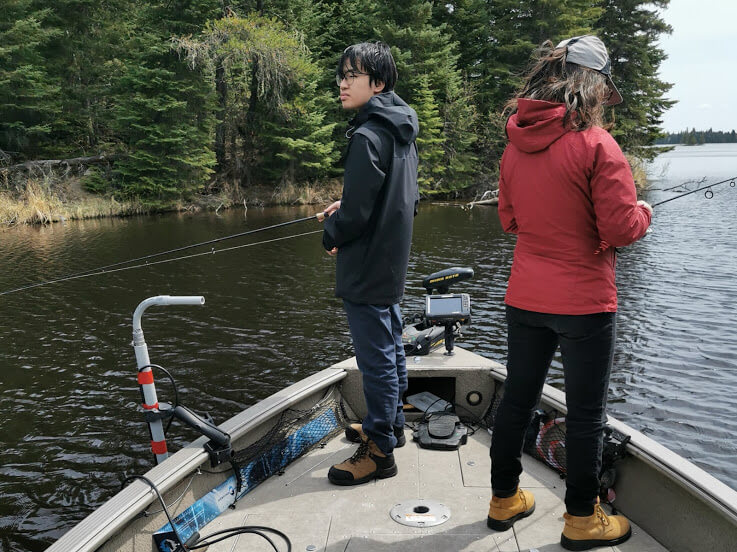
It’s been a while since I made a post here. The fishing season was approaching and there was a mad rush to get my boat ready and to install my electronics. Working on a boat is a lot of work. Missing hardware can cost hours of work as an emergency trip to the store is required. There was a lot of unexpected challenges which required creativity and improvisation. I work as a project manager in real life so projects being delayed due to lack of information is nothing new to me.
In the end, I did get everything installed just in time for the Manitoba season opener. In this article, I would like to share how I set up my Lowrance Active Target for my boat. I will explain my thought processes behind the setup and the challenges of getting it installed. I’m very new to the technology so my setup can potentially change over time. Hopefully from my experiences, you can get an idea of how you want to install your Active Target. Some elements might also be applicable to Livescope users as well.
Active Target and Why I Chose It
For those who are unaware, Active Target is Lowrance’s version of live sonar. It is similar to Garmin’s Livescope and the upcoming Humminbird’s Mega Live. Unlike traditional 2D sonar, Active Target essentially shows where structure and fish are relative to the boat. The resolution is quite high allowing fish and structure to be more precisely identified. For me I thought this would be a good investment as it would allow me to understand fish behavior better. Plus it could be used all year round.

While Garmin and Humminbird offer a similar product for a similar price (all are around $2000 CAD MSRP), I went with Active Target. As I frequently mention throughout my posts, Angler’s Edge Mapping is valuable to my arsenal. Even if the competition offered a slightly better image, the advantage would not be enough for me to install an Echomap or Helix unit for the sole purpose of live sonar. By having both live sonar and quality mapping on the same unit, it greatly simplifies my boat’s setup. I can use mapping while driving around and then switch to live sonar as soon I start fishing.
The Units
As of today, Active Target is compatible with the HDS Live, HDS Carbon (discontinued) and the Elite FS series. In my boat, I run an Elite FS 9 at the back (I own a tiller boat) and an HDS Carbon 7 at the bow. While the HDS Live series are the most technologically advanced, I felt that the cost outweighed the added benefits for me. The Elite FS and HDS Carbon can pretty much do nearly everything I needed, in fact they might even be overkill.

An Active Target consists of a module and a transducer. The transducer is connected to the module. The module, which is independently powered, is connected to the Lowrance unit via ethernet. When I decided to get Active Target, I thought I would be mostly using it from the back since that’s where I usually fish. However there are instances where it would be nice to fish at the front. It would be super inconvenient to keep plugging and unplugging the ethernet cable between units. It turns out there is a way to easily share one Active Target transducer between two units.

Networking
Lowrance units can be networked via ethernet. This is simply achieved by taking an ethernet cable and connecting them together. This allows map chips and transducers to be shared between units. For example I only own one Angler’s Edge Mapping card. Instead of buying two, I inserted the chip into my Elite FS at the back. For someone operating the trolling motor at the front, they can use the same Angler’s Edge Mapping data using the HDS Carbon up front. That is hugely advantageous as the person at the front can avoid hazards like shallow water and reefs.
The same principle can be applied to Active Target. However remember what I said about the Active Target requiring an ethernet connection from the module to the Lowrance unit? The Elite FS 9 and the HDS Carbon 7 only have one ethernet port each. How can they be connected to each other and the Active Target module?
This is not an issue for the larger HDS units (9″ or bigger) as they have two ethernet ports. In order for me to network the Active Target module and both graphs, I managed to find a StructureScan HD module. This module has three ethernet ports which allows all three devices to be connected to each other. Alternatively a Nep-2 Expansion Port with 5 ethernet ports would suffice although it’s much more expensive.

The Active Target and StructureScan Module both came with an ethernet cable. However in order for me to connect my HDS Carbon at the front, I had to buy another 25′ ethernet cable.
Powering the Units
All these fancy gadgets take up a lot of power. Usually my units are wired to my starting battery through a fuse panel. However a boat with three graphs and two modules can really consume power, especially with the outboard off. The lights, bilge pump and live well pump also need power. So I ran two starting batteries wired in parallel. This (I hope) will prevent me from getting stranded. I do try to shut off certain electronics if they are not required.
Both the StructureScan and Active Target modules require a yellow wake up wire in addition to the red positive and black negative wires as part of the power cable. Normally the yellow wire of the module’s power cable connects to the yellow wire of the Lowrance unit’s power cable. This ensures that the module is powered on and off as the graph is powered on and off.
I sometimes like to run the graphs without the modules on. So I incorporated a switch for the powering of the modules. I would twist both the red positive and yellow wake up wire into one wire and connect it to a switch. The black wire can go directly to the fuse panel. That way the modules can be powered regardless of whether the graphs are turned on or off. However they will always be powered off if the master switch is off.


The Transducer Turret
When purchasing the Active Target kit, the intention was that it would be mounted on the bow trolling motor. However this is problematic as the trolling motor is not always pointed in the desired direction. Like many anglers, I like the ability to scan in other directions to search for fish and structure. Not only that but sometimes I might want to be stationary sitting at the back of the boat when vertical jigging for walleye. Other times, I want to stand at the front searching for bass on shorelines. I would need a system where the transducer could be rotated while being able to be moved to different parts of the boat.
As of today, Lowrance does not offer such a solution for an independently rotating transducer turret. There exist some 3rd party options though I found them quite costly or they did not fit my needs. Though the market is still new so it’s possible that new solutions will come up. I decided that I would do some DIY to make my own transducer mount.
I drew my inspiration from the YouTube Channel Kansas Angling Experience which has created a DIY PVC pipe mount to create a rotating mount for his Livescope Transducer. The link to his video is here. It was pretty creative although the only part I didn’t like was the fact that it was fixed to one position on the boat. So I took elements from this design and incorporated some of my own creativity.
Essentially, the design is simply a 0.75″ thick PVC pipe inserted into a 1.25″ thick pipe. I would cut the 1.25″ pipe slightly shorter than the 0.75″ one. The Active Target transducer would then be clamped onto the bottom of the thin pipe. A handle at the top would allow for the 0.75″ pipe to rotate around while the 1.25″ pipe would be attached somewhere on the side of the boat.

One challenge I encountered was that the transducer would spin far too easily. In waves or boat movement, there needs to some friction to prevent the transducer from being pushed around. So I wrapped the 0.75″ pipe with an old bike tire inner tube. The rubber increased the friction allowing the inner pipe to rotate but not freely.

As for the cable, I simply applied electrical tape along the length of the outer pipe. Do not use cable ties as they can pinch the internal wires causing damage.
Portable Mounting System
Now I needed a system that would allow me to move this transducer anywhere I wanted on the boat. My boat is a Lund so it utilizes the Lund Sport Trak. Essentially a grove along the gunnel allows brackets to slide along the length of the boat. Typically most people mount rod holders on the brackets so they can be slid to the desired position. I thought I could take advantage of this system to make my Active Target setup portable.
I use Scotty rod holders which have a special mount bolted to my Sport Trak brackets. Typically these mounts can accommodate a wide range of Scotty accessories such as rod holders. However they also sell a RAM ball accessory. This allows a RAM mount system to be utilized. I have a RAM handlebar mount that I used to clamp onto the outer pipe of the Active Target turret. These two ball mounts would be joined by a socket arm clamp. I essentially created a system where the Active Target turret can be slid along the length of the boat or could even be moved to the other side of the boat with relative ease.

Overall the materials to build the turret itself were quite cheap. The handlebar mount and clamp came from my snowmobile which would normally be useless during the summer. I did have to buy new Lund Sport Trak brackets and Scotty mounts but they have the added benefit of allowing more rod holders on the boat. As a result, I have a clean mounting system that required zero drilling into the gunnel. It is easy to stow and offers me tons of flexibility to move it where I want.

Initial Impressions
Note a full review will be on a separate article. However I did get to utilize the setup briefly on a section of the Winnipeg River that I have never fished before. The turret performed quite well. The ethernet network did allow me to share the data between the front and back units. I was able to scan around the boat to examine the structure. I did not see many fish as most of the fish we caught were pike that sped in beyond the sonar range. The hardware and software seemed to all be working well. I will need more trips to truly master Active Target. So far I was quite impressed with it though.

Final Words
Installing electronics can be a tricky thing especially for advanced products. It was difficult to plan with so many unexpected challenges and expenses. Though I am very proud that I was able to overcome the difficulties with creative thinking and research. I definitely gained a lot of knowledge on boating electronics throughout this whole experience.
Hopefully this article helps someone out there with their Active Target installation. While everyone’s situation is unique, this can offer some installation suggestions. Let me know in the comments if you any questions or suggestions that you may have. I am very new to this and the technology is new so changes will definitely happen in the future.


